Ninja Creami Banana Ice Cream: The Ultimate Creamy Treat
Hey there, foodies! If you’re anything like me, you love a good scoop of ice cream. But what if I told you that you could whip up a delicious, creamy, and refreshing banana ice cream right in your ninja cream maker? Welcome to the world of homemade ice cream that’s not only scrumptious but also loaded with banana goodness. Grab your spoons and let’s dive into this delightful recipe that’s perfect for hot summer days or any time you need a sweet escape!
Personal Story: A Scoop of Nostalgia
Growing up, my family had a little ritual every Sunday. After a long week of school and work, we’d gather in the kitchen, tunes playing, and make homemade ice cream. My dad had this old-school ice cream maker that looked like a mini spaceship. We’d take turns cranking the handle while he tried to keep up with our giggles and chatter. Our house always smelled like vanilla and sugar, and the excitement was palpable when we could finally scoop the velvety goodness into a dish.
But the real star of our ice cream Sundays? The banana ice cream! It was a fan favorite, overflowing with ripe banana flavor and the creamy texture we craved. Now, thanks to my Ninja Creami, I can bring back that nostalgic joy and even better, recreate it in a fraction of the time!
Let’s get this banana ice cream party started!
Ingredients
Here’s what you’ll need to bring this delicious treat to life:
-
1 3/4 cups vanilla ice cream
(This is the star of our recipe! You can use store-bought or homemade. If you’re dairy-free, opt for a plant-based vanilla ice cream instead.) -
1 Tablespoon instant banana pudding mix
(This is your secret weapon for amplifying that sweet banana flavor. Plus, it gives the ice cream an extra creamy texture!) -
1/4 cup milk
(Just a splash to help blend everything smoothly! Any kind of milk works—almond, coconut, or even oat milk if you prefer a non-dairy option.) -
1/3 cup chopped bananas
(Use ripe bananas to get that sweet flavor. If you have brown spots on the skin, that’s even better—perfectly ripe bananas lend maximum sweetness to your ice cream!)
Step-by-Step Instructions
Let’s break it down into easy-peasy steps!
-
Prepare the Ingredients
Before you begin, make sure all your ingredients are prepped and ready to go. Chop those bananas into small bits; this helps them blend seamlessly into the mix. -
Blend It Up
In a mixing bowl, combine the vanilla ice cream, banana pudding mix, and milk. Use a spatula to mix them thoroughly until well combined and creamy. Feel free to taste the mixture; it’s your call if you want to add more banana flavor! -
Add the Bananas
Gently fold in the chopped bananas. Don’t over mix; we want those banana chunks to remain for a delightful texture in your ice cream! -
Pour into the Ninja Creami
Transfer the mixture into your Ninja Creami’s container, ensuring it’s filled to the maximum capacity. Secure the lid and get ready for some magic! -
Transform into Ice Cream
Place the container onto the motor base of your Ninja Creami. Choose the “Ice Cream” setting and let it churn! You’ll hear some delightful whirling sounds as it transforms into a luscious banana ice cream. -
Scoop & Serve
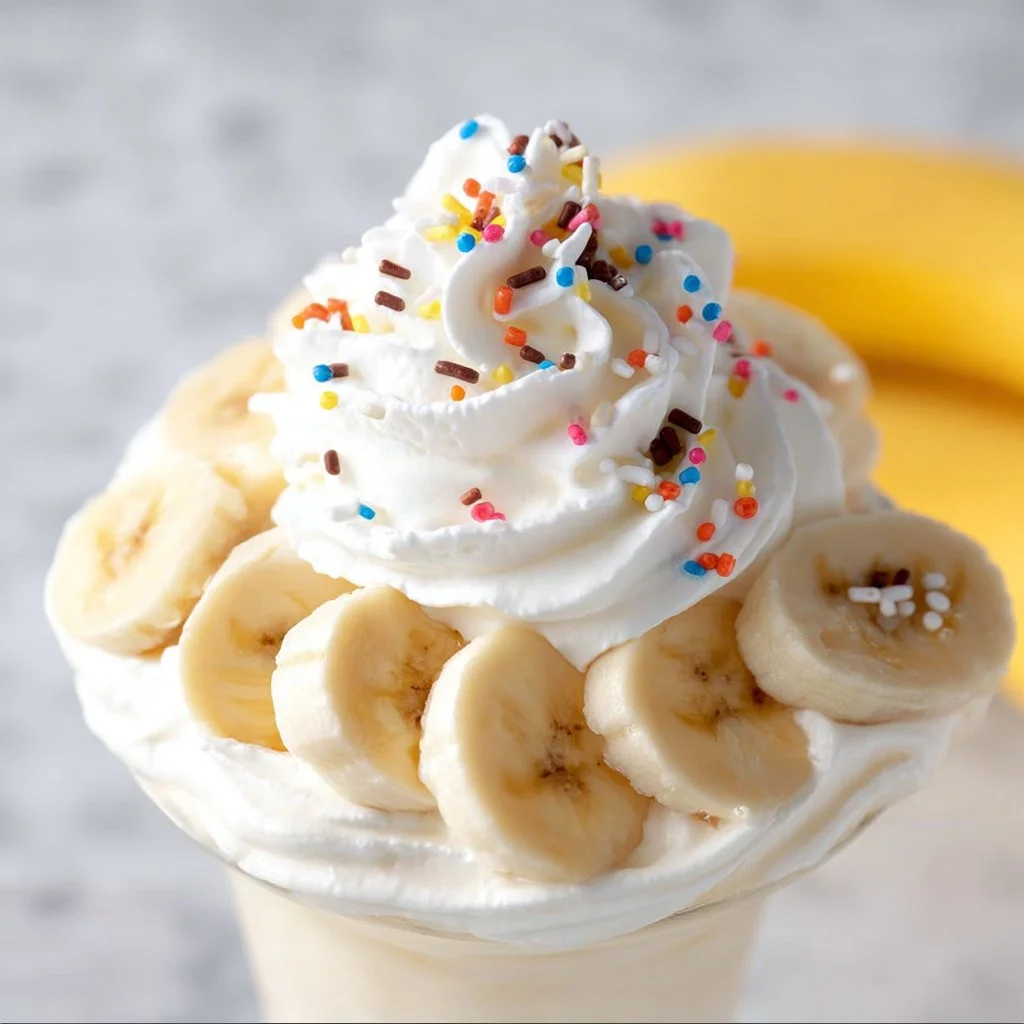
Once the cycle completes, take off the lid, and voila! You’ve got ice cream galore! Use an ice cream scoop to serve it into bowls or cones. Top it with additional banana slices, a drizzle of chocolate sauce, or even a sprinkle of nuts for a fun twist!
Serving Suggestions
Here’s where you can have a little fun with presentation:
- Banana Boat Style: Slice a banana lengthwise, place a scoop of ice cream in the middle, and drizzle with chocolate syrup.
- Waffle Cone Dreams: Stuff the banana ice cream into waffle cones for a crunchy delight.
- Toppings Galore: Set up a toppings station with sprinkles, crushed cookies, or fresh berries. Let everyone customize their own bowl for a fun family treat!
Recipe Variations
Let’s get creative! Here are a few fun twists to consider:
- Chocolate Banana Swirl: Mix in 2 tablespoons of chocolate syrup before churning for a rich, chocolaty flavor.
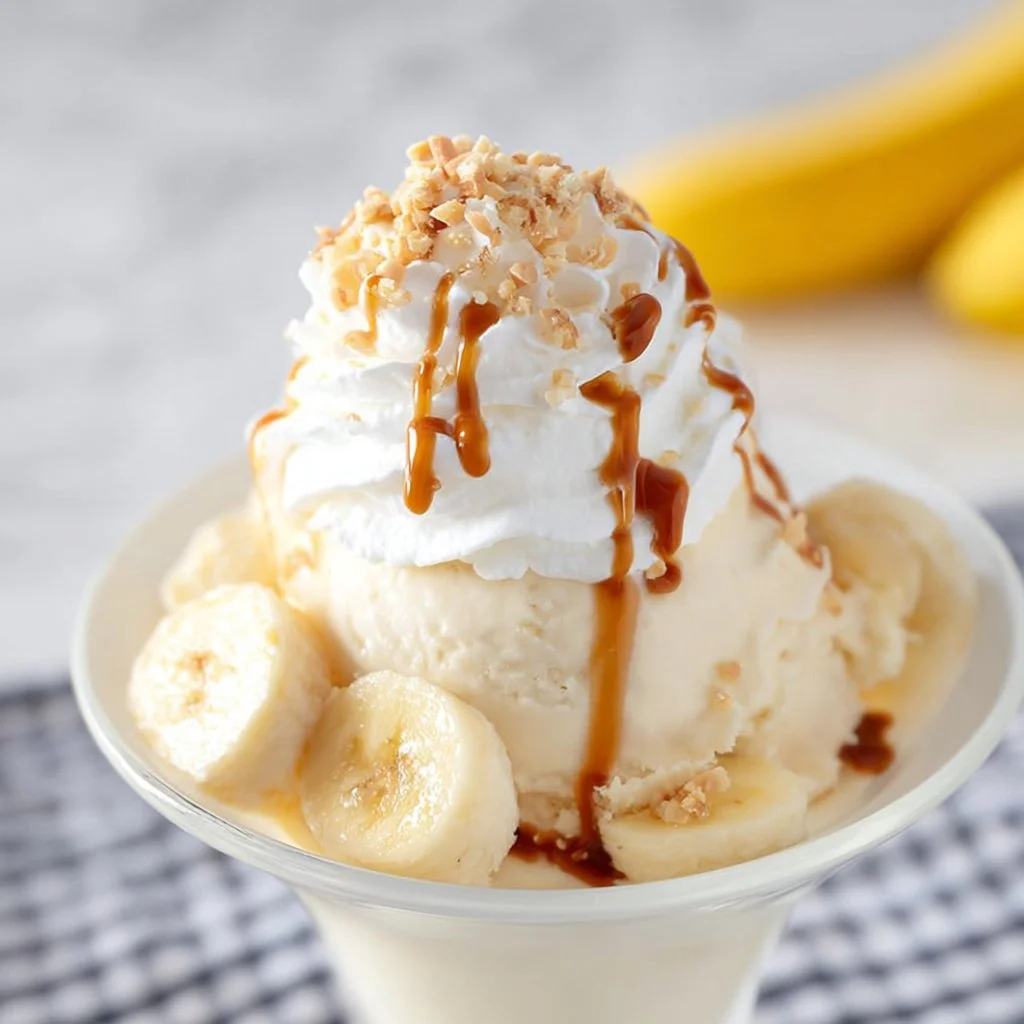
- Nutty Banana Blast: Fold in chopped walnuts or pecans for a crunchy contrast.
- Tropical Twist: Add coconut milk instead of regular milk and toss in some shredded coconut to give it a tropical vibe.
- Caramel Banana Delight: Drizzle caramel sauce onto your serving before digging in for a sweet surprise!
- Peanut Butter Banana Mash-Up: Stir in a swirl of peanut butter for a deliciously nutty flavor that pairs perfectly with bananas.
Chef’s Notes
While creating this recipe, I had a little laugh remembering the time I accidentally mistook salt for sugar while making banana ice cream. The result? A salty, sad scoop that nobody wanted to touch! We ended up calling it the "salty surprise" and now it’s a running joke in my kitchen.
Over the years, this recipe has evolved from a simple scoop of ice cream into a versatile base for so many fun flavors. Every time I make it, I discover new ways to enjoy it – and I can’t wait for you to try it out and create your own variations!
FAQs and Troubleshooting
Here are some common questions you might have while making your ninja creamy banana ice cream:
-
What if my ice cream is too hard?
If your ice cream turns out too hard after churning, let it sit at room temperature for a few minutes before scooping. This will soften it up nicely! -
Can I use frozen bananas?
Absolutely! Frozen bananas are great, especially if you want ice cream that’s super creamy. Just remember to let them thaw slightly to make blending easier. -
What should I do if it doesn’t churn properly?
Ensure you’ve filled the container to the proper level and that the lid is securely fastened. If it’s still not churning, check if the Ninja Creami itself is plugged in and functioning properly! -
Is there a way to add more flavor?
Definitely! Try adding extracts like vanilla or almond or even some spices such as cinnamon or nutmeg for an aromatic touch!

Nutritional Info
While indulging in a sweet treat, it’s always good to know what we’re getting into! Here’s a rough estimate for a serving of this delicious Ninja Creami Banana Ice Cream:
- Calories: Approximately 200-250 calories per serving
- Protein: 4g
- Fat: 8g
- Carbs: 34g
- Fiber: 1.5g
- Sugars: 20g
Feel free to adjust your ingredients or toppings to match your dietary needs. The great thing about homemade ice cream is that you can control what goes in it!
Conclusion
There you have it! You’ve just crafted your own Ninja Creami Banana Ice Cream, channeling a bit of that childhood joy right in your kitchen. Whether you’re sitting down to enjoy it alone or serving it up to friends and family, there’s nothing quite like the creamy goodness of homemade ice cream.
Now that you’re armed with this recipe, I hope you feel inspired to whip up this treat and maybe even create your own variations along the way. Remember, cooking is all about experimenting and having fun.
Happy scooping, and may your kitchen be filled with laughter and delicious aromas! Until next time, let’s keep scrolling less and cooking more. Cheers! 🍌🍦✨