
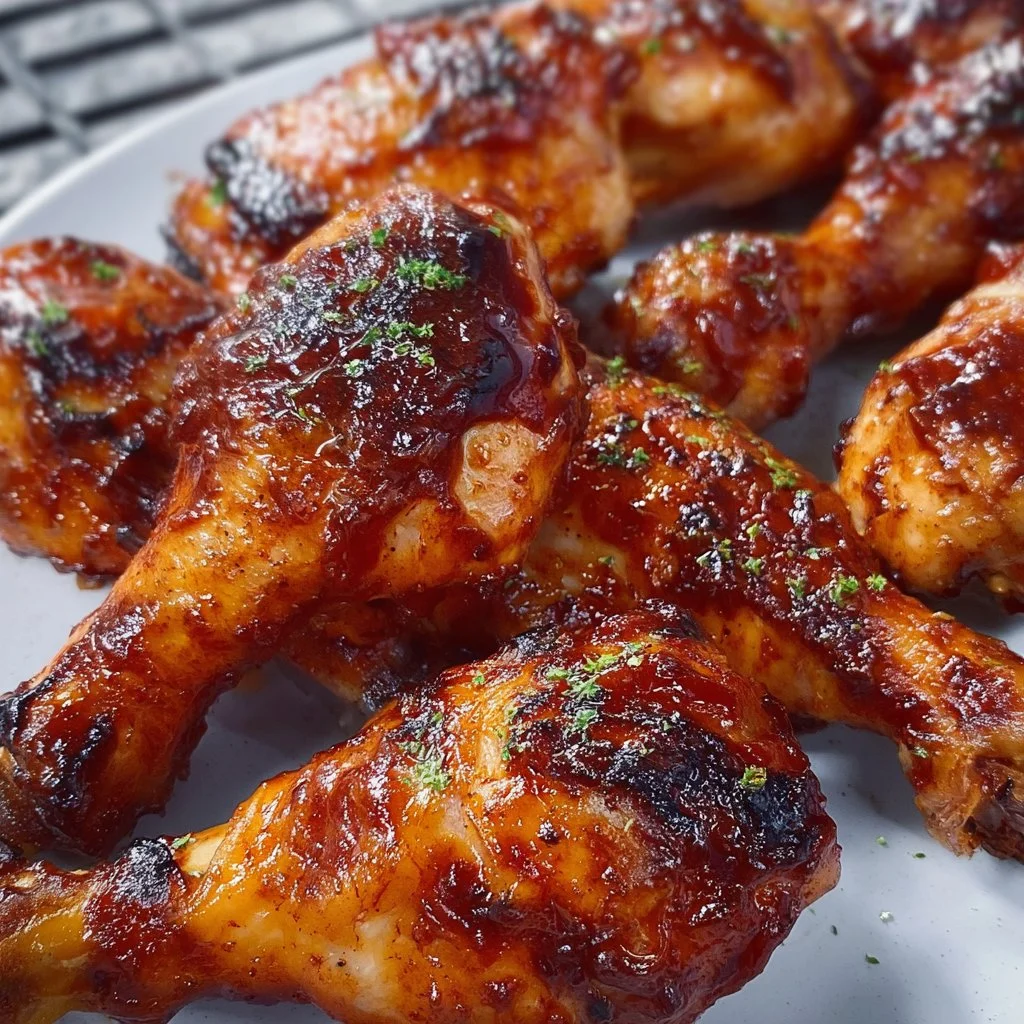
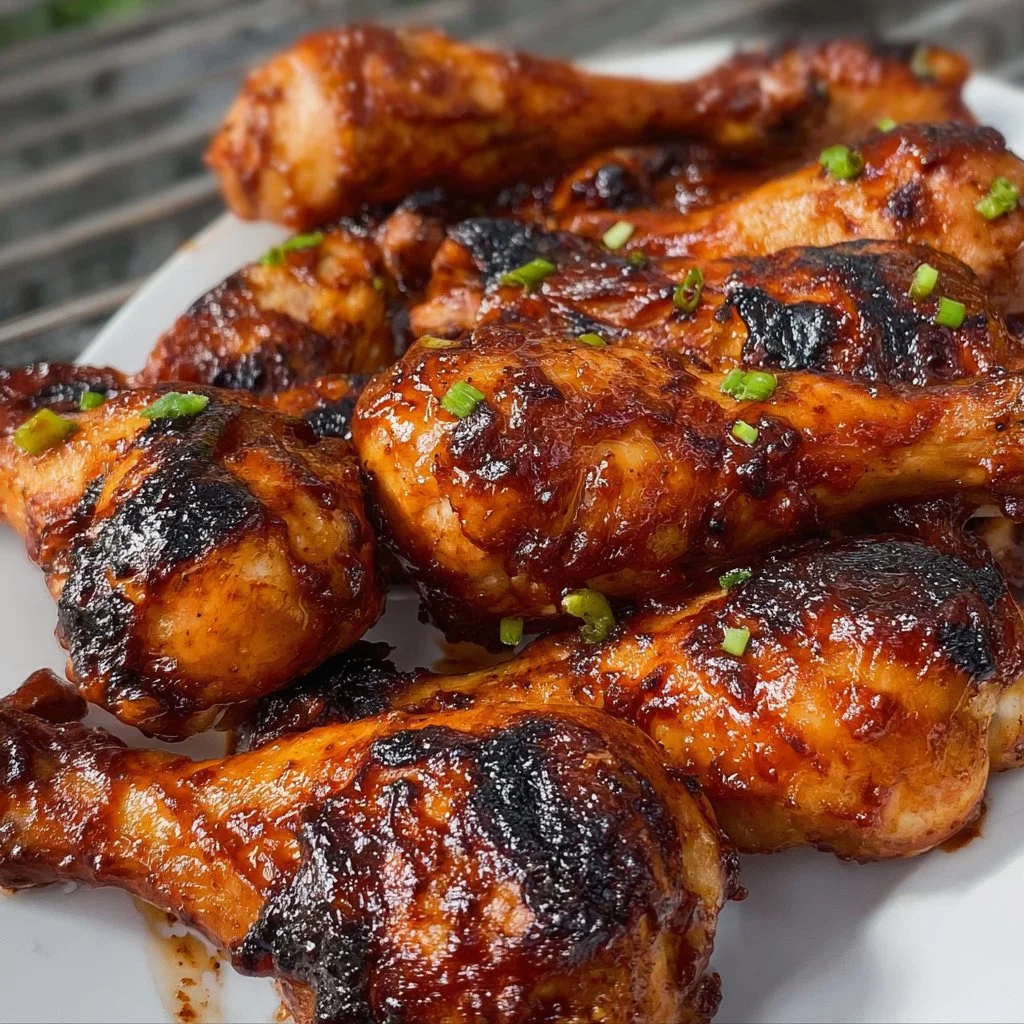
Sticky & Juicy BBQ Chicken Drumsticks – A Summer Favorite!
Ah, summer! The season of sunshine, backyard barbecues, and mouthwatering scents wafting through the air. Nothing screams summer more than the sizzling sound of chicken drumsticks cooking on the grill, slathered in a sticky, glossy BBQ sauce. If you’re anything like me, you have fond memories of chasing after that last tender piece, fingers sticky with sauce, and laughing with friends and family around a picnic table.
Today, I’m excited to share my favorite Sticky & Juicy BBQ Chicken Drumsticks recipe! This dish is perfect for summer gatherings, picnics, or even just a cozy dinner at home. I’ll take you step-by-step through the process, sprinkle in some personal stories, and provide tons of tips to make your cooking experience enjoyable and memorable. So, let’s roll up our sleeves and dive in!
Personal Story
Growing up, summer meant family barbecues! My uncle had a grill that could probably seat the entire neighborhood, and every weekend, he’d fire it up, creating a sizzling symphony of flavors. The star of the show? His infamous BBQ chicken drumsticks. I remember racing to the table, the sweet and smoky aroma wrapping around me like a warm blanket. There we were, competing for the last drumstick like it was the golden ticket to paradise.
Years later, as I began my culinary journey, I found myself reminiscing about those summer days. I decided to put my own twist on my uncle’s beloved recipe. The result? These Sticky & Juicy BBQ Chicken Drumsticks that are equally delicious and nostalgic. You’re going to love them!
Ingredients
Before we jump into cooking, let’s gather our ingredients. Here’s what you’ll need to make this mouthwatering dish:
-
Chicken Drumsticks (about 2 pounds)
- Chef’s Insight: Drumsticks are perfect for grilling because they’re juicy and flavorful. They retain moisture better than chicken breasts, so don’t shy away from the dark meat!
-
Olive Oil (2 tablespoons)
- Substitution Tip: You can use any neutral oil, like canola or vegetable oil, but olive oil adds a lovely richness.
-
BBQ Sauce (1 cup)
- Creative Twist: Go for your favorite store-bought brand, or make a homemade version! You can easily customize the flavors to your liking.
-
Garlic Powder (1 teaspoon)
- Flavor Boost: Fresh minced garlic works too, just adjust to taste since it’s more potent!
-
Onion Powder (1 teaspoon)
- Substitution Tip: Shallots can also be a great substitute, delivering a milder onion flavor.
-
Paprika (1 teaspoon)
- Chef’s Insight: This adds a subtle smokiness. Feel free to opt for smoked paprika for an extra kick!
-
Salt and Black Pepper (to taste)
- Tip: Season generously! It enhances the overall flavor and helps your spices shine through.
-
Honey (2 tablespoons for extra stickiness)
- Sweet Tip: Maple syrup can substitute for a different flavor profile, but honey complements the BBQ sauce beautifully.
-
Fresh Chopped Parsley for garnish (optional)
- Presentation Hack: Fresh herbs add a pop of color and freshness to your final dish!
Step-by-Step Instructions
Alright, here’s where the magic happens! Let’s cook these sticky and juicy BBQ chicken drumsticks!
Step 1: Prep the Chicken
-
Clean the Drumsticks:
Rinse the chicken drumsticks under cold water and pat them dry with paper towels. Removing excess moisture helps the skin get crispy! -
Season the Chicken:
In a large bowl, add the drumsticks. Drizzle with olive oil, then sprinkle the garlic powder, onion powder, paprika, salt, and black pepper over them. Toss everything together until the chicken is evenly coated. This is your flavor base!
Step 2: Marinate
- Let It Marinate:
For best results, let the seasoned drumsticks marinate for at least 30 minutes at room temperature, or up to 8 hours in the fridge. Marinating allows all those beautiful flavors to penetrate the chicken. If you’re short on time, don’t worry—you can skip this step!
Step 3: Prepare the BBQ Sauce
- Mix the BBQ Sauce:
In a separate bowl, mix your BBQ sauce with honey to add that delightful stickiness. This blend will provide a beautiful glaze while cooking. Trust me, your taste buds will thank you!
Step 4: Grill Time!
-
Preheat the Grill:
Preheat your grill to medium-high heat (about 375°F to 400°F). You want it hot enough to create beautiful grill marks. -
Place the Drumsticks on the Grill:
Carefully place your drumsticks on the grill, cooking them over indirect heat. Cover the grill and let them cook for about 30-35 minutes, turning occasionally. -
Baste with BBQ Sauce:
In the last 10 minutes of grilling, start basting the chicken with the BBQ sauce mixture. This will create that sticky layer we all crave! Just be cautious not to let it burn.
Step 5: Check for Doneness
- Check Temperature:
Use a meat thermometer to ensure your drumsticks reach an internal temperature of 165°F. This is crucial for safe eating!
Step 6: Serve and Savor
- Serve:
Once cooked, remove the drumsticks from the grill and let them rest for 5 minutes to lock in juices. Serve garnished with fresh parsley on a platter, and get ready for everyone to race for seconds!
Serving Suggestions
-
Plating: Arrange the drumsticks on a colorful serving platter, drizzle some extra BBQ sauce on top, and sprinkle with fresh parsley.
-
Sides: Pair these delicious drumsticks with a refreshing summer corn salad, coleslaw, or grilled vegetables for a complete meal!
Recipe Variations
Let’s get creative! Here are some thoughtful variations you can try:
-
Honey Mustard BBQ: Mix in some mustard with the BBQ sauce for a tangy twist that pairs perfectly with honey.
-
Spicy BBQ Sauce: Add some cayenne pepper or hot sauce to the BBQ sauce mixture for those who enjoy a bit of heat!
-
Herb-Infused Drummies: Mix in finely chopped fresh herbs like rosemary or thyme with your seasonings to add a fresh pop of flavor.
-
Lemon Zest BBQ: Incorporate some lemon zest into the BBQ sauce for a bright, citrusy note that enhances the overall taste.
-
Gluten-Free Version: Use gluten-free BBQ sauce for a completely gluten-free meal everyone can enjoy!
Chef’s Notes
Cooking is all about trial and error! Last summer, I served these drumsticks at a family picnic and accidentally spilled a whole jar of honey into the sauce. Instead of panicking, I turned it into a honey BBQ glaze! It became a hit, and now it’s part of the regular recipe. Remember, cooking should always be an adventure!
Also, if you’re feeling adventurous, let your friends pick one of the twists above for your next cookout. It’s a fun way to engage everyone and brings excitement back to the table.
FAQs and Troubleshooting
Q1: Why are my drumsticks not getting crispy?
- Ensure your grill is preheated and that you’re not just cooking them over direct heat. Using a little oil and the right temperature helps to crisp the skin!
Q2: Can I bake these instead of grilling them?
- Absolutely! Preheat your oven to 425°F and place the drumsticks on a baking sheet. Bake for 30-35 minutes, basting with sauce in the last 10 minutes, until they reach the same internal temperature.
Q3: How do I store leftovers?
- Store any leftover chicken in an airtight container in the fridge for up to 3 days. Reheat in the oven or microwave until warm.
Q4: Can I freeze cooked drumsticks?
- Yes, just let them cool completely before placing them in a freezer-safe bag. They can last up to 3 months in the freezer. Thaw in the fridge overnight before reheating!
Nutritional Info (per drumstick)
- Calories: Approximately 200
- Protein: 20g
- Fat: 12g
- Carbohydrates: 8g
- Sodium: 300mg
In conclusion, cooking doesn’t have to be intimidating! With simple ingredients and easy steps, you can create mouthwatering Sticky & Juicy BBQ Chicken Drumsticks that will impress family and friends alike. So, grab those drumsticks, fire up the grill, and let the summer memories begin! Happy cooking! 🍗✨